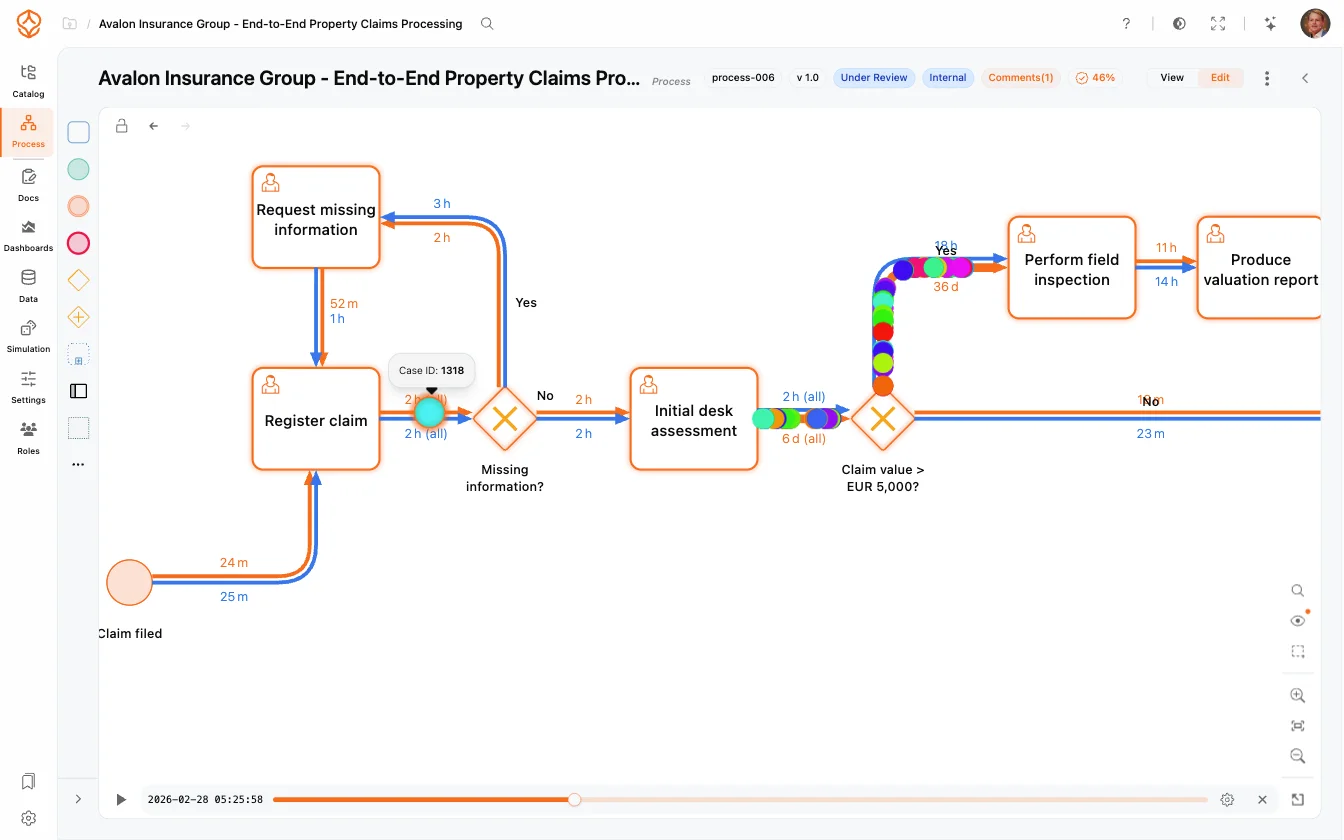
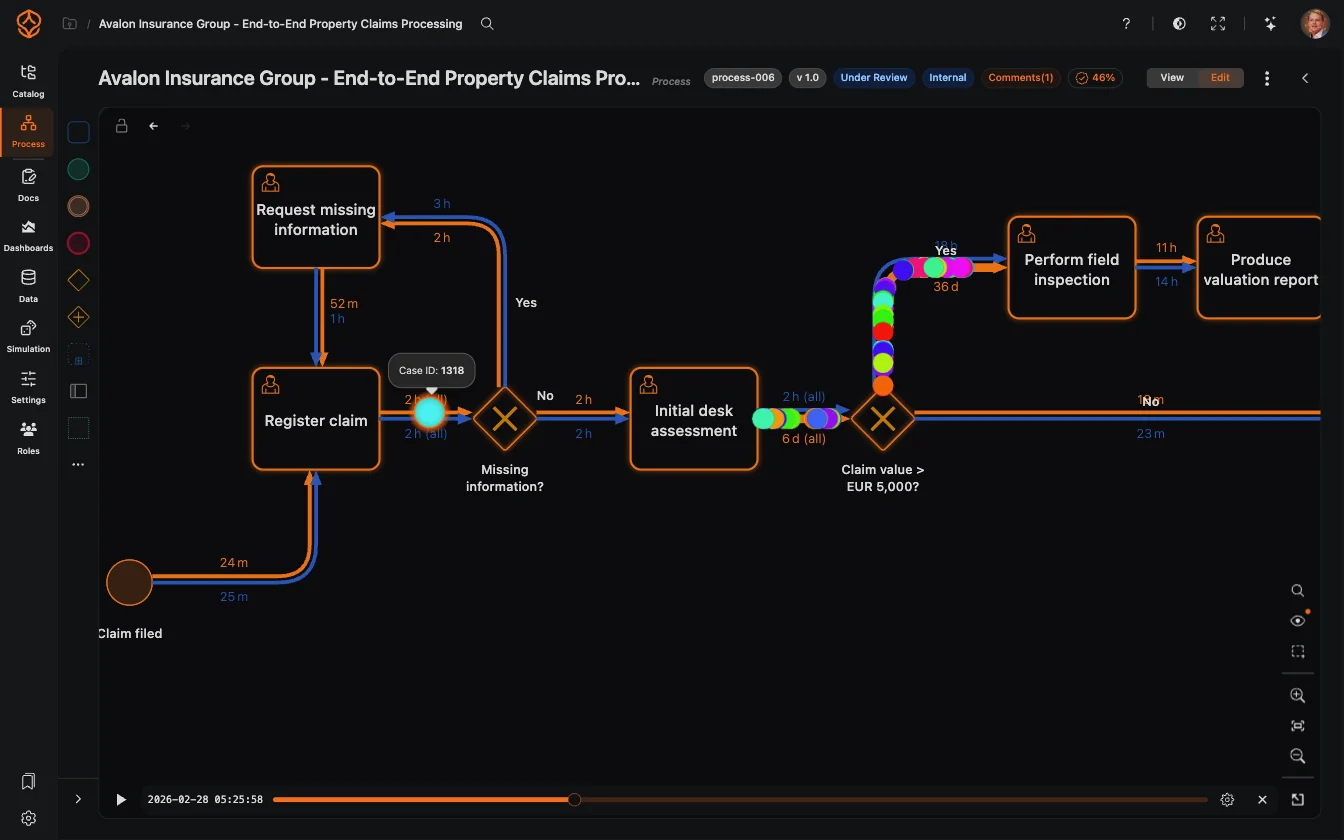
The modeling canvas is where process models take shape. You drag elements in from the palette, connect them, and refine the layout — this page covers the canvas itself and the tools around it. To learn what the BPMN elements mean, see Constructing a BPMN Diagram; to generate a first draft instead of drawing, use AI Process Generation.
The canvas at a glance
- Element palette (left) — everything you can place, grouped into sections: Core Elements, BPMN Elements, VSM Elements, Architecture Levels (child processes), and Analytics (charts, metric tiles and AI elements you can place on the model itself). Use Search elements… to filter, or collapse the palette to a narrow rail.
- Canvas (center) — your model, with playback controls in the bottom-left corner and the process menu (import, export, version history, …) in the top-right.
- Toolbar (right) — search in the model (Ctrl/Cmd+F), the Process visibility panel (hide or show unmapped activities, model-only elements and charts), zoom and fit controls, and the minimap toggle. When something is selected, its settings appear below — see Element Settings & Properties.
Adding elements
- Find the element in the palette — for example Task, Start Event or one of the gateway types under BPMN Elements.
- Drag it onto the canvas. The element is created where you drop it.
- To reuse part of another process, expand Architecture Levels and drag a child process onto the canvas to place it as a linked task.
Double-click an element (or select it and press F2) to rename it in place, without opening the settings panel.
Selecting, moving and arranging
- Select — click an element to select it and open its popover. Ctrl/Cmd+click toggles further elements in and out of the selection.
- Rectangle select — hold Shift and drag across the canvas to select everything inside the marquee.
- Move — drag the selection, or nudge it with the arrow keys (1 px; Ctrl/Cmd+arrows moves 10 px).
- Connect — hover an element to reveal its connection point, then drag from it onto the target element.
- Tidy up — with several elements selected, the selection menu aligns them and distributes them evenly as a group.
The selection popover also gives quick access to common actions: copy, duplicate, delete, and rename; add or split lanes and rotate a pool; attach comments; expand a subprocess or jump into it; open a linked process; and — for mined models — open the data attached to an activity.
Navigating large models
- Zoom — scroll on the canvas (some views ask you to hold Ctrl/Cmd while scrolling), or use the + and - buttons and the
+ / - keys. With an element selected, zooming centers on your selection. - Pan — drag anywhere on the empty canvas, or hold the middle mouse button and drag.
- Fit to view — click Fit in the right toolbar to bring the whole model back on screen, or right-click anywhere on the canvas.
- Minimap — the overview in the corner shows where you are in the model: the rectangle marks your current viewport, click anywhere in it to jump to that part of the model, and drag the rectangle to pan. Show or hide it with the toggle in the right toolbar.
- When you are zoomed out, hover over an element to see a compact tooltip instead of its full label.
Your zoom and pan position is temporary — refreshing the page resets the view. Save a view you come back to as a Process Bookmark.
Keyboard shortcuts
| Action | Shortcut |
| Undo | Ctrl+Z (Cmd+Z) |
| Redo | Ctrl+Y or Ctrl+Shift+Z (Cmd+Y / Cmd+Shift+Z) |
| Select all | Ctrl+A (Cmd+A) |
| Search in model | Ctrl+F (Cmd+F) |
| Copy / Paste / Duplicate | Ctrl+C / Ctrl+V / Ctrl+D (Cmd on Mac) |
| Rename selected element or connection | F2 |
| Delete selection | Delete or Backspace |
| Move selection | Arrow keys (Ctrl/Cmd for 10 px) |
| Clear selection / stop renaming | Escape |
Undo and redo cover every editing action in your session — adding, moving, renaming, deleting, even auto layout — so you can experiment without fear. In view mode (read-only), editing shortcuts are disabled.
Next: give the elements their meaning and behavior in Element Settings & Properties.