Create, Upload, or Generate Your Process Model
Explore four ways to start your first process in ProcessMind: generate with AI, mine from data, import a model, or use a blank canvas.
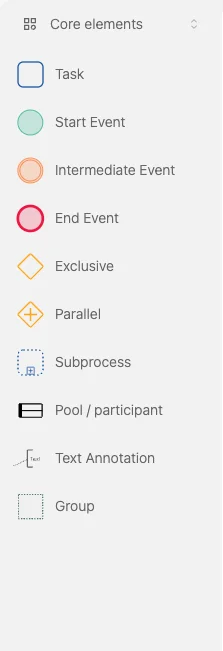
Once you enter the modeling canvas, you are ready to build your process using BPMN 2.0 elements.
The modeling options are located on the left-hand side of the screen.
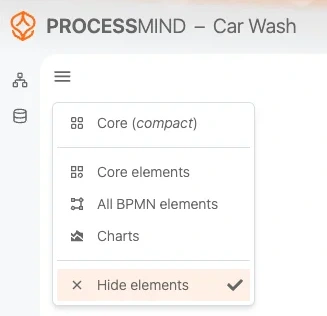
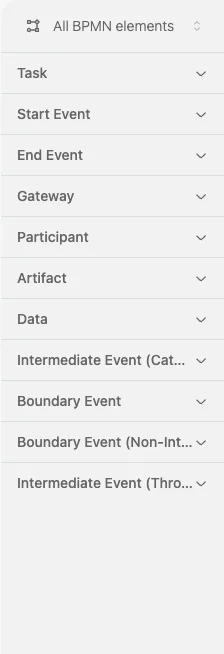
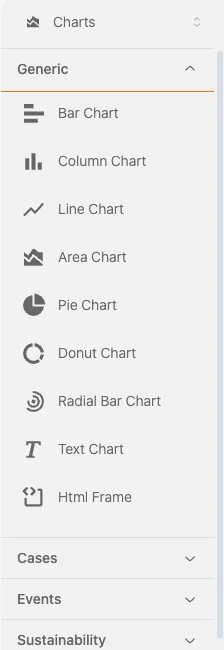
You can choose from several palettes:
⚠️ You can only convert an element if the new type is compatible with the incoming and outgoing connections. Incompatible options are automatically hidden.
When you select an element, the right-hand panel displays configuration options.
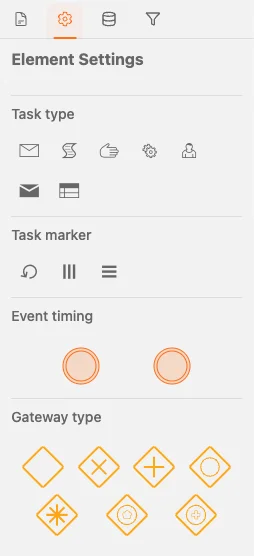
You can:
To delete an element, select it and press Delete or use the trash icon in the context menu.
All available actions for a selected element are shown in its context menu.
Happy modeling!
We use cookies to enhance your browsing experience, serve personalized content, and analyze our traffic. By clicking "Accept All", you consent to our use of cookies.